Formal explain
A closure is the combination of a function and the lexical environment within which that function was declared. This environment consists of any local variables that were in-scope at the time the closure was created (Mozilla).
Informal explain
- closure is not tangible object. We cannot create it like creating an variable. it is an inner property of a function. We can see the variable that is not exists already through a closure using console.dir(). However, we cannot see the closure through code.
- A closure gives a (inner) function access to all variables of its parent function. The closure will keep finding the variable value from outside scope until it finds it. If it cannot find it, the closure will be undefined.
When an (inner) function needs to use a variable from outside (not passed in), then the closure will store the variable value and the value can come from any parent scope.
Simplest case
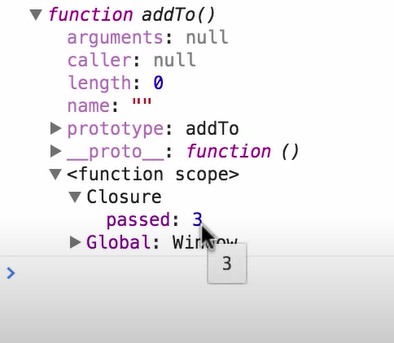
There is one function, and the variable “passed” is not passed in.The closure in the function will find the value from outside.
Code example 1
1 | # index.js |
Closure example 1
Run code: https://jsfiddle.net/dohrLfv8/
In this case: “passed” is in a closure and value is 3 and 4.
Normal case
There are two functions, outer and inner and there is a variable inside the inner function needs to get value from outer function or even outside of the outer function.
Code example 2
1 | # index.js |
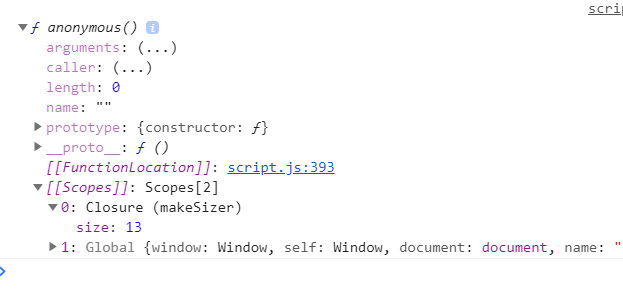
Closure example 2
Run code: https://jsfiddle.net/vnkuZ/7726/